
Hii Guys welcome the new Post. In this post i will show you, How to install Ubuntu Ec2 instance From AWS[Amazon Web Server] Using Android Mobile. Ok so let`s start

1. First of all you have to Login to your AWS account.After that you have to click on Ec2.

2. After click on Ec2, then you have to click on Launch Instance.

3. Now you have to select Ubuntu Server 18.04 instance here.

2. After click on Ec2, then you have to click on Launch Instance.
3. Now you have to select Ubuntu Server 18.04 instance here.
4. now after this you have to select Free tier instance then click review and launch.
5. After that you have to select a Private Key, then you have to select the name of your Key file then Download Key pair.
7. After downloading Key file, then you have to click on Launch Instance. Then click on View Instance
8. Ok guys, here on now your instance has been successfully created. Now you have to run it for this you click on the connect button
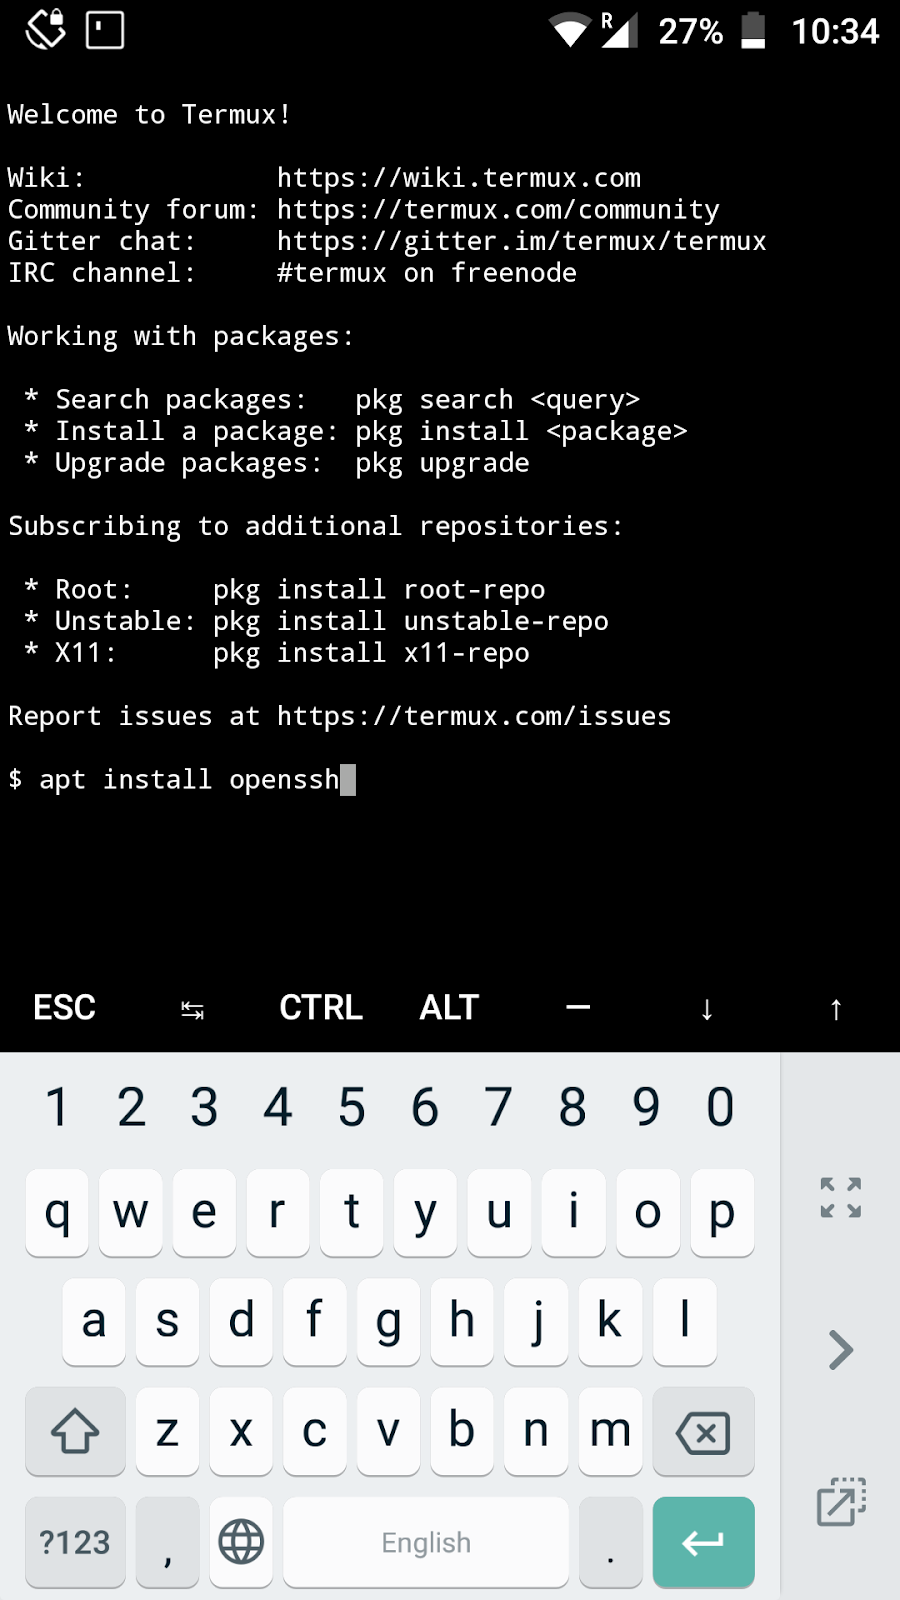
9. Now you have to open your Termux and after this openssh server should be installed in your termux, If not installed then you copy this command
 |  |
5. After that you have to select a Private Key, then you have to select the name of your Key file then Download Key pair.
 |  |
7. After downloading Key file, then you have to click on Launch Instance. Then click on View Instance
 |  |
8. Ok guys, here on now your instance has been successfully created. Now you have to run it for this you click on the connect button
 |  |
9. Now you have to open your Termux and after this openssh server should be installed in your termux, If not installed then you copy this command
apt install openssh
10. After that the Private Key that you downloaded you have to give the Execute permission so you copy this command
11. Now the command SSH you had copied from the instance, you have to paste it in Termux then Enter

12. Ok guys, here you can see that you are Logged into the Ubuntu system and you get the architecture of x86_64bit
chmod 400 Linuxndroid.pem
 |  |
11. Now the command SSH you had copied from the instance, you have to paste it in Termux then Enter
12. Ok guys, here you can see that you are Logged into the Ubuntu system and you get the architecture of x86_64bit
 |  |
Ok guys today's post i will show you how to use Ubuntu System in AWS Instance. I hope you like this post so i will see you in the next post. Thanks & Love💓
Document


Linuxndroid
Follow Me


0 Comments
Please do not enter any spam link in the comment box.