

Get Free $100 Credit on Digital ocean Account.

Step-1 How to use Kali Linux VPS on Digital Ocean
After login your Digital ocean account, you will get option on your dashboard which is named Droplets. so by clicking on it you will deploy to a New VM Machine.

Step-2
After clicking on droplets, now you have to choose an operating system for your VM. so I would recommend you to select Ubuntu Operating system only.

Step-3 How to use 8GB RAM VPS
after selecting the ubuntu machine, you will now get a plan to see the option where you can start only $6/month. But we are using the $48/month plan because inside it we get to see support of 8GB RAM and you know you're getting $100 Credit free through digital ocean, which you can use here.

now you can choose any name of your droplet. (ex.kali) and then click on the create button.

after click on the Create button, you will be able to see on your dashboard your VM is ready. you will also get to see the IP address of your VM Machine.

now you can connect your VM via SSH with this IP address. I can use WSL to connect our VM.
ssh root@ip

Step-4 Change Kali Repository in Ubuntu VM
after login to your VM, first you have to change your repositories. we will replace the repository with Kali repository. because we will install any tools that use Kali repository.
deb http://http.kali.org/kali kali-rolling main contrib non-free
deb-src http://http.kali.org/kali kali-rolling main contrib non-free

Step-5 Update Kali Working GPG Key
after changing the repositories, now you have to import Kali GPG key inside your VM. so that if you update your machine, not show any errors.
gpg --keyserver pgpkeys.mit.edu --recv-key ED444FF07D8D0BF6
gpg -a --export ED444FF07D8D0BF6 | sudo apt-key add -

now you have to update and upgrade your machine so that the latest packages are installed inside your machine. also your Ubuntu machine should be Changed under Kali.
apt update && apt dist-upgrade

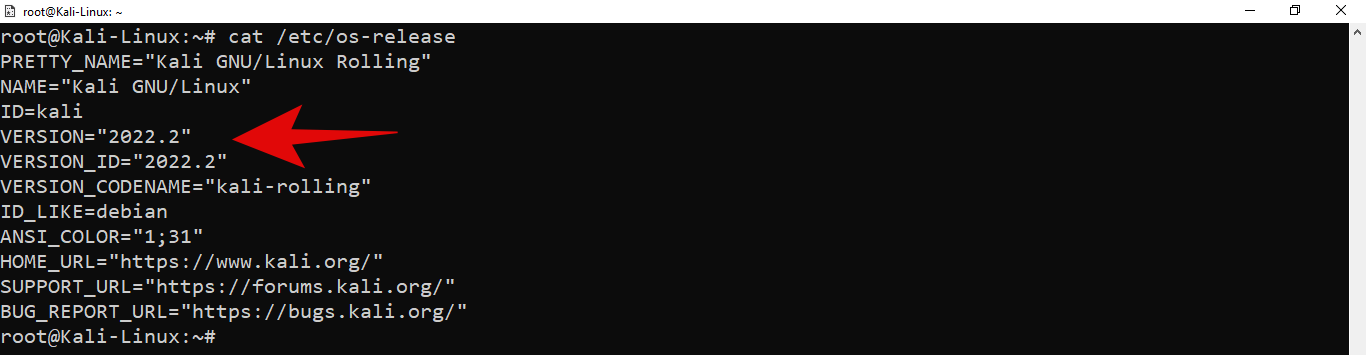
after the machine has been successfully update and upgrade, you can see that your Ubuntu machine is now converted to the latest version of Kali Linux.
Step-6 How to Setup Xfce4 in Kali 2022
now you have to install GUI tools inside your Kali machine. so that you can use Kali Linux graphically. for this we will install Xfce4 desktop environment and also need tightvncserver. so you below command for installation.
apt install kali-desktop-xfce tightvncserver lxterminal firefox-esr
after all the packages have been installed, now you need to setup the VNC server. first of all you setup vnc password.
vncpasswd

after setup VNC server password, now you have to start VNC server, with the help of which you will be able to use your Kali machine graphically.
vncserver

after starting the VNC server, you can now connect to it with the help of VNC viewer application with the IP address your VM and 5901 port as well.

Step-7 Finally Done
finally you can see that you are using Kali linux Graphically inside your Digital ocean VM. because for now Digital Ocean can't Provide Kali Linux VM. So hope you like this Method.

Conclusion
This post is a conclusion of how we can setup and install Kali linux inside Ubuntu VM in digital Ocean. through this method, you can setup kali Any debian Linux Distro. so I hope you like this post and learn new Thing, and I will see you in then next post Thanks Given Time, BYE..


0 Comments
Please do not enter any spam link in the comment box.